
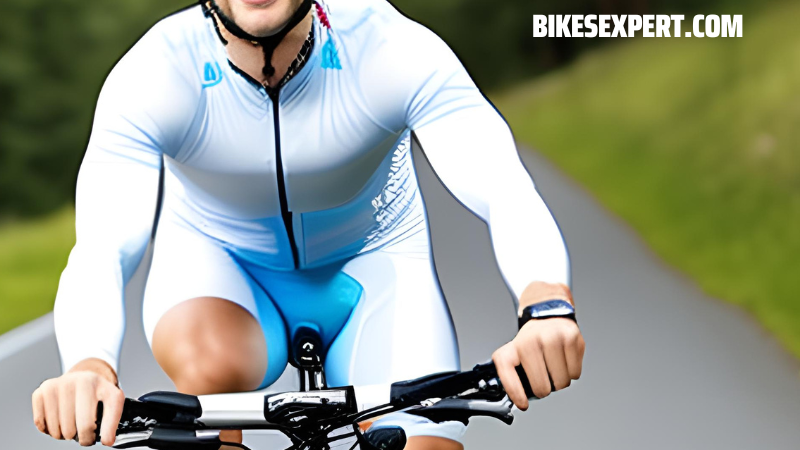
Raising the handlebars on your mountain bike can significantly improve your riding experience by increasing comfort and control.
Adjusting your handlebar height is a relatively simple process that can significantly impact your overall riding experience.
This guide will walk you through the steps to properly adjust your handlebars, ensuring a better fit and more enjoyable rides. From understanding the benefits of raising your handlebars to finding the ideal height, we’ve got you covered.
Read More Also: How To Adjust Mountain Bike Disc Brakes?
Why You Should Raise Your Handlebars?

Improved Comfort:
A higher handlebar position often leads to a more upright riding posture, reducing the amount of strain placed on your neck, shoulders, and lower back. This more relaxed position can alleviate discomfort during long rides and help prevent injuries caused by poor riding posture. By raising your handlebars, you can achieve better overall comfort and ride for longer durations with less fatigue.
Better Control:
Raising your handlebars can also lead to better control over your bike, particularly on rough or technical terrain. With a more upright position, your weight is distributed more evenly, allowing for improved manoeuvrability and balance. This can be especially beneficial for beginners or those who feel uneasy navigating challenging trails.
Reduced Strain on the Body:
A higher handlebar position can help reduce the strain on your wrists, arms, and shoulders. When your handlebars are too low, it forces you to lean more heavily on your hands and wrists, which can lead to discomfort, numbness, or even long-term injuries like carpal tunnel syndrome. By raising your handlebars, you alleviate some of this pressure, enabling a more comfortable grip and reducing the risk of injury.
Enhanced Climbing Ability:
When tackling steep climbs, a higher handlebar position can help you maintain better control and traction. With your weight distributed more evenly and your body in a more upright position, you can more effectively shift your weight forward, allowing for better grip on the rear wheel and preventing the front wheel from lifting off the ground.
What Tools You Need to Raise Your Handlebars?
- Allen Wrench Set
- Torque Wrench
- Measuring Tape
How To Raise Your Handlebars (Step-by-Step Guide)
- Measuring the Current Handlebar Height:
First, use a measuring tape to measure the current height of your handlebars. Place the measuring tape on the ground next to your bike and measure up to the centre of your handlebars. Write down this measurement so you can compare it later.
- Loosening the Stem Bolts:
Find the bolts on the front of your bike where the handlebars connect to the frame (this part is called the stem). You’ll need an Allen wrench (a special tool that looks like an L) to loosen these bolts. Turn the wrench counterclockwise to make the bolts loose, but don’t take them out completely.
- Adjusting the Handlebar Height:
Now that the bolts are loose, you can move the handlebars up or down to find the height that feels best for you. Use the measuring tape to check the new height and compare it to your original measurement. Try sitting on your bike and holding the handlebars to see how the new height feels. You might need to try a few different heights before you find the perfect one.
- Aligning the Handlebars:
After you’ve found the right height, make sure your handlebars are straight. Stand in front of your bike and look at the handlebars from the front to check if they’re lined up with the front wheel. If they’re not straight, gently move the handlebars left or right until they are.
- Tightening the Stem Bolts with a Torque Wrench:
Once your handlebars are at the right height and straight, it’s time to tighten the bolts again. This time, use a torque wrench (a special tool that helps you tighten bolts to the correct tightness) with the correct size Allen key attachment. Your bike’s manual or the stem itself might have a recommended torque value (usually measured in Newton-meters or Nm).
Set the torque wrench to this value and tighten the bolts by turning the wrench clockwise. The torque wrench will make a click sound when you’ve reached the right tightness. This ensures that the bolts are tight enough, but not too tight.
If you don’t have a torque wrench, you can still raise your handlebars by following these steps. Just be careful not to overtighten the bolts when using a regular Allen wrench.
What Is The Ideal Handlebar Height For A Mountain Bike?
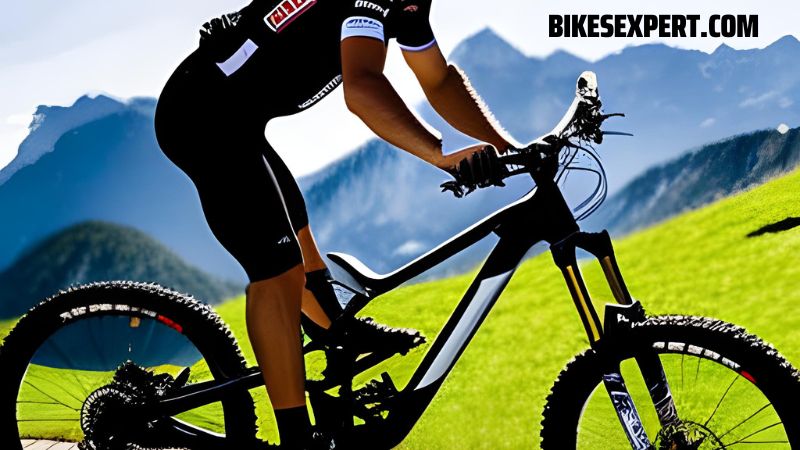
Determining the ideal handlebar height for your mountain bike depends on various factors, including personal preference, riding style, terrain, and saddle height. Here’s a closer look at these factors to help you find the perfect handlebar height for your needs:
Personal Preference:
Every rider is unique, and what feels comfortable for one person may not work for another. When adjusting your handlebar height, consider your own preferences and comfort level.
Make small adjustments and test out different positions to find the one that feels the most natural and comfortable for you.
Riding Style:
Your riding style plays a significant role in determining the ideal handlebar height. For example:
Cross-country riders may prefer slightly lower handlebars, allowing for a more aerodynamic position that helps with speed and efficiency during long rides and climbs.
Trail and all-mountain riders may opt for a more neutral position, balancing comfort and control for a wide range of terrains.
Downhill and enduro riders typically prefer higher handlebars, providing more control and stability when descending steep, technical trails.
Consider the type of riding you do most often and adjust your handlebar height accordingly.
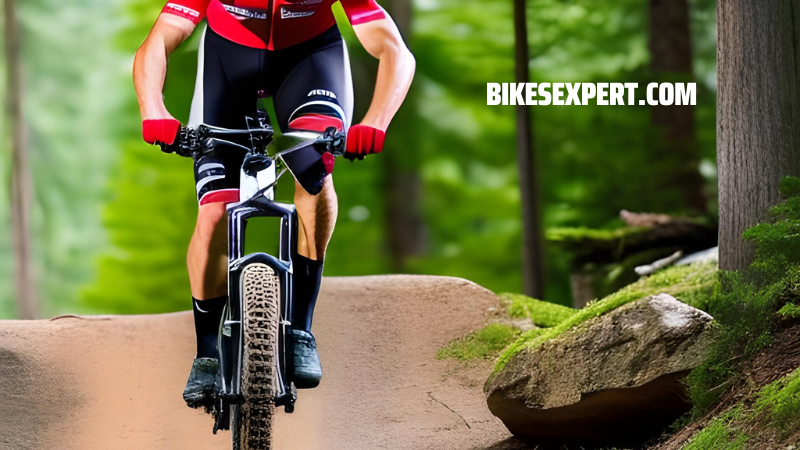
Terrain:
The terrain you ride on also affects the ideal handlebar height. If you primarily ride on smooth, flowing trails, a lower handlebar position might be more suitable.
However, if you frequently encounter rough, technical terrain or steep climbs and descents, a higher handlebar position can offer better control and comfort.
Saddle Height:
Your saddle height plays a role in determining the ideal handlebar height, as it affects your overall body position on the bike. As a general rule of thumb, your handlebar height should be roughly level with or slightly below your saddle height for cross-country and trail riding.
For more aggressive riding styles, such as downhill and enduro, a higher handlebar position relative to the saddle may be preferred.
Body Proportions:
Every rider has unique body proportions, which can influence the ideal handlebar height. Riders with longer torsos may require higher handlebars to maintain a comfortable position, while those with shorter torsos may prefer a lower position. Make adjustments based on your own body proportions to ensure a comfortable and efficient fit.
Experiment with different handlebar heights and positions to find the one that works best for your individual needs and provides the optimal balance of comfort, control, and efficiency.
Frequently Asked Questions:
What Are The Best Handlebars For Mountain Biking?
The best handlebars for mountain biking will depend on your riding style, personal preferences, and the type of terrain you’ll be riding on. Some popular options include flat bars, riser bars, and swept-back bars. Each type has its advantages, so it’s essential to choose the one that suits your needs best.
Are Taller Handlebars Better?
Taller handlebars can offer better control and comfort for some riders, particularly during long rides or when tackling rough terrain. However, handlebar height is a matter of personal preference, and what works for one rider may not work for another. It’s essential to find the ideal handlebar height for your body and riding style.
Does Raising Handlebars Shorten Reach?
Yes, raising your handlebars can shorten the reach between your saddle and the handlebars. This can lead to a more upright riding position, which may provide greater comfort during long rides. However, it’s important to remember that a shorter reach may not be ideal for all riders or riding styles.
Should The Saddle Be Higher Than The Handlebars?
Whether your saddle should be higher than your handlebars depends on your riding style, body proportions, and personal preferences. Generally, a higher saddle position is suitable for more aggressive riding and climbing, while a more level saddle-to-handlebar height is preferred for casual riders who priorities comfort. Experiment with different positions to find the one that works best for you.
Summary:
Raising your mountain bike handlebars can enhance your overall riding experience by providing better control, increased comfort, and reduced strain on your body.
With the right tools and our step-by-step guide, adjusting your handlebars is a simple task that can make a significant difference in your mountain biking adventures.
Always remember to consider your personal preferences, riding style, and the type of terrain you’ll be tackling when determining the ideal handlebar height.
Also, make sure to check out my post on the Best Mountain Bikes For 12 Year Old (Updated 2023).