Tubeless road tires are the way of the future. They have already arrived. If you’ve never put up tubeless tires before, you may find the following advice and procedures useful.
Mountain and dirt riding have already embraced tubeless tires—so what comes next: road riding. Tubeless road tires provide greater comfort, lower rolling resistance, and, of course, more puncture prevention. Many new road bikes even come with tubeless-ready wheels out of the box.
Although tubeless road tires are great for me, many roadies are skeptical. In addition, tubeless tire installation might be scary. So I will explain how to set up tubeless at home and offer tips and tactics to make it easier.
Here is an article on my website that you must read, its about Different Types Of Bike Frame Materials — Explained.
Road Tubeless Supplies
Elemental Supplies:
- Tubeless-ready wheels
- Tubeless-ready tires
- Tubeless valves
- Tubeless sealant
- Tubeless sealant injector
- Tire levers
- Pump or CO2 inflator
Your wheels and tires will work as long as they say “tubeless” or “tubeless-ready” on them. Though not required, wheels and tires manufactured after 2020 may simplify tubeless installation due to improved ETRTO regulations.
Most tubeless-ready wheels are pre-taped with tubeless tape, an airtight plastic-like tape. If not, you must first tape your wheels. Tubeless tape should be 3-5mm broader than the internal diameter of your rim. If your wheels didn’t come with tubeless valves, make sure to get valves that are 10–30 mm longer than the depth of your rims.
Sealant injectors provide exact measurements and injection of sealant through the valve. A sealant may be poured into the tire before installation, although utilizing an injector is often less messy and more convenient.
Nice-To-Have Supplies:
- Valve core tool
- Tire bead jack
- Air compressor
The Presta valve core is removed using a valve core tool from tubeless valves. This may be used to seat tires or inject tubeless sealant. Valve core tools are inexpensive, but a tiny crescent or 5mm box wrench will suffice.
Bead jacks are useful equipment for mounting tubeless tires that are exceedingly tight and difficult to install.
They provide additional force to lift the tire bead over the rim wall without destroying your tubeless tape, which may happen if you use tire levers too vigorously. The Kool-Stop Bead Jack is a favorite of ours.
How To Install And Setup Tubeless Road Tires?

1. If your wheels do not already have tubeless valves, place the valves into the valve holes. Use the valve nut to secure them. Make sure the valve nut is merely finger-tight.

2. Put your tire on. Tubeless tires may be difficult to install due to tight tolerances. The aim is to get as much of the tire bead as possible into the recessed center channel of the rim. This provides greater slack for pushing the bead over the rim lip.
I prefer to begin placing the tire bead on the other side of the valve. You obtain the most slack possible without the valve in the way. If you must use tire levers, be cautious not to harm the tubeless tape.
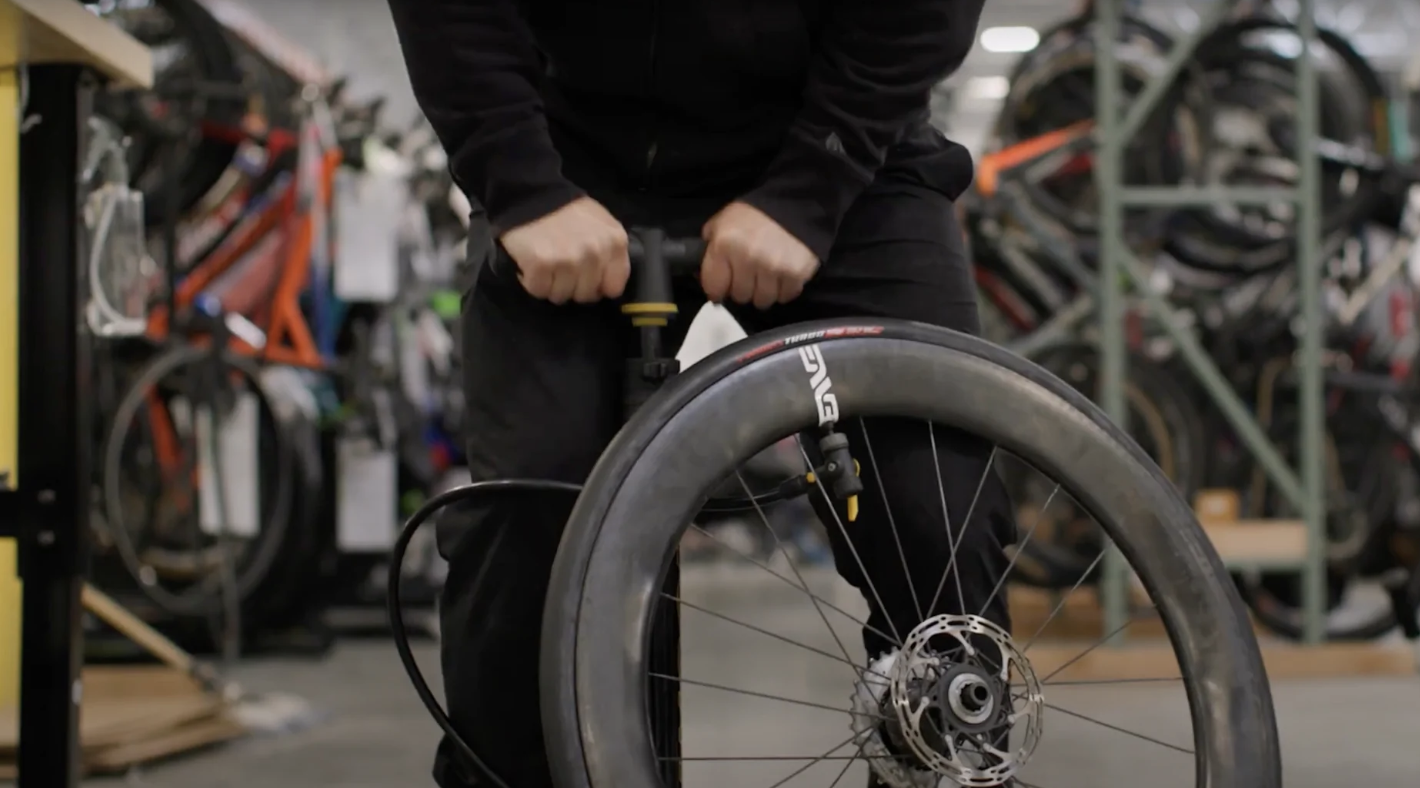
3. After installing the tire, inflate it and seat the tire beads on the rim. If you have a good wheel and tire setup, the tire will normally sit with a few strong floor pump pumps. See the tubeless tips and techniques section below if it doesn’t work.
As the bead seats, you should hear a popping sound. Examine the whole circumference to check that the beads are properly inserted. A slight rubber molding line above the bead should be evident all around the wheel on most tires. Continue to add air if a specific region isn’t seated.
If you reach the maximum suggested pressure for your tire or rim, consider lubricating the bead with soapy water and bouncing it on the ground a few times to entice it toward the seat.
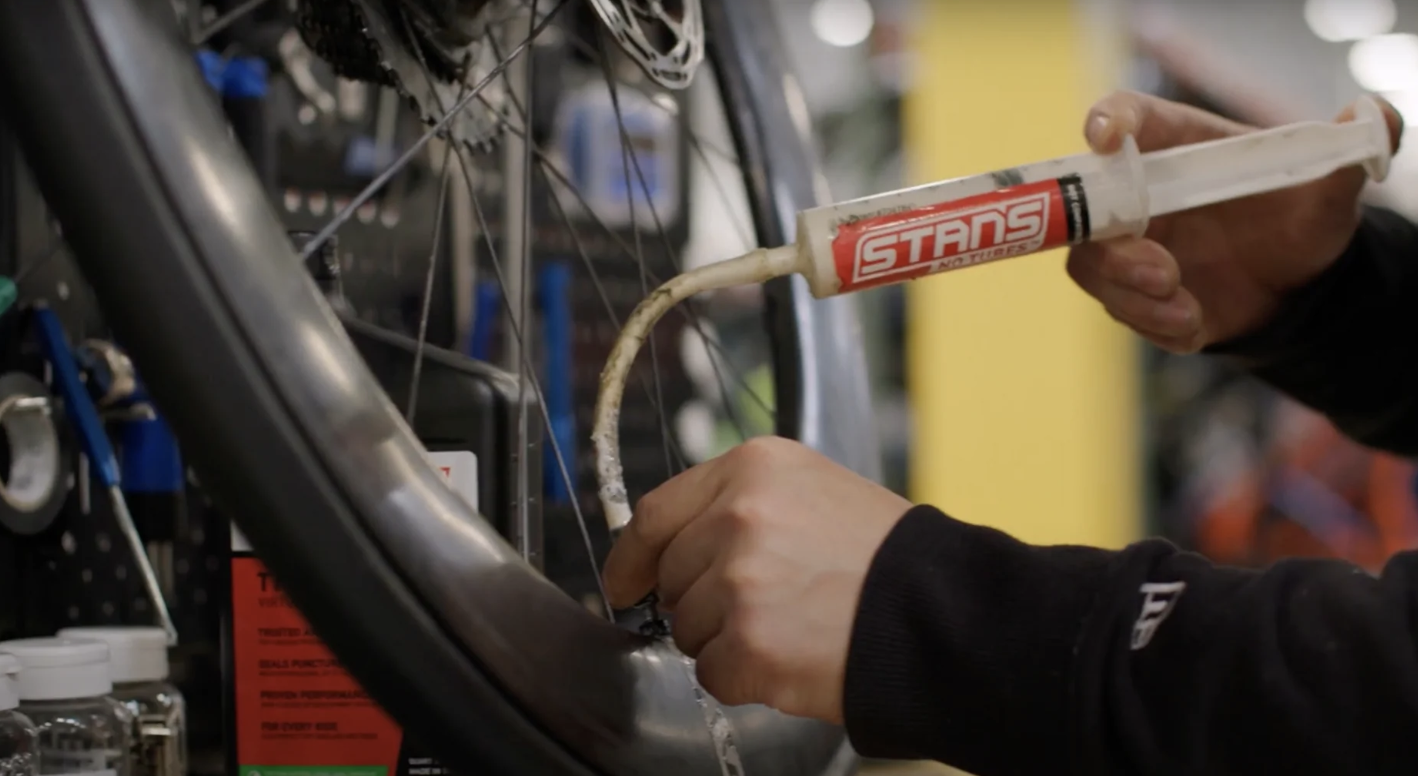
4. Once the tire beads are firmly inserted, you may let the air out, and the tire will remain seated. Next, remove the valve core and use the sealant injector to add 60 ml (2 oz.) of sealant.
When the valve is at the 6 o’clock (bottom) position, it is simplest to inject sealant. Before removing the injector, rotate the wheel until the valve is positioned above 3 or 9 o’clock. When removing the injector prevents sealant from spewing back out of the valve.

5. Replace the valve core and inflate the tire to the proper air pressure. Wipe up any excess sealant. To disperse the sealant, spin or shake the tire.
Tubeless Install Tips, Tricks And Troubleshooting
Seating the tire beads is the most difficult element of a tubeless tire installation. These are the following steps if you cannot seat your tire beads using a floor pump. Try them in sequence, or combine them all if you want the best chance of success.
- Trick 1: Remove the valve core before connecting your floor pump/CO2 inflator/air compressor. This opens the valve, allowing you to pump in more air and seat the tire more quickly.
- Trick 2: Use a tube to seat one bead. You’ll need to remove the tubeless valve. Replace the tire, insert a tube, and inflate until the tire beads are seated. Remove one bead, remove the tube, and replace the tubeless valve. With one bead already placed, the other side is considerably simpler than the seat.
- Trick 3: Apply a powerful blast of compressed air. This will be simple if you have access to an air compressor. Special pumps and charging canisters are designed exclusively for tubeless tires that may supply a burst of air for the rest of us. I like to use a simple CO2 inflate. Most riders already have one, and more CO2s are inexpensive and simple. If you wish to seat your tire with CO2, do so before applying sealant. Release all the CO2 before applying the sealant since CO2 may destroy the sealant.
Do You Have Any Leaks? If you detect air and sealant leaking out around your spoke holes, this typically indicates that your tubeless tape is faulty and needs to be changed.
Tighten the valve nut if the air seeps out of the valve hole. In addition, some sealant may be seen leaking from the tire sidewalls. This normally seals itself over time. However, you may need to apply extra sealant later.
This should make mounting tubeless road tires at home fast and straightforward. Keep going if you struggle the first time! Once you’ve learned what works best for you, subsequent tubeless tire installations will be a breeze.
I can complete a tubeless setup simultaneously as a conventional clincher install, and it’s worth it for the advantages.
Frequently Asked Questions [FAQs]
How Do You Pump Air Into A Tubeless Tire?
Filling a tubeless tire with air is uncomplicated. Initially, remove the valve core from the tire stem. Then, connect the pump to the stem and begin pumping until the appropriate pressure is reached. Replace the valve core, and you’re all set.
Can You Inflate A Tubeless Tire With A Hand Pump?
Yes, you can use a hand pump to inflate a tubeless tire. However, you must ensure that the pump you choose is compatible with your valve type and that you have the correct adaptor for your tire. In addition, it may take more time and effort to inflate your tires than using an air compressor.
Can You Use A Floor Pump For Tubeless Tires?
Tubeless tires may be inflated using a floor pump. Most floor pumps feature a dual head that fits Presta and Schrader valves, so filling your tire should be simple. However, before inflating the tire, ensure the pump is adjusted at the proper pressure.
Do You Need A Co2 Pump For Tubeless?
No, tubeless tires don’t need a CO2 pump. You can use a floor or hand pump to pump up your tire and use the right sealant to keep the air in. But if you want to save time, a CO2 pump is a good choice because it works much faster than a regular pump.
Can You Do Tubeless Without A Compressor?
Yes, you can! Installing tubeless tires does not need a compressor. Only sealant and a tubeless valve stem are required. After ensuring that your rim is suitable with a tubeless configuration, you should be able to install the tire without any additional tools.
Conclusion
As more and more cyclists worldwide use tubeless tires, it can take a while to figure out what kind of pump you need to set them up. However, this article gives you a better idea of tubeless tire pumps and why they differ from regular tire pumps.
Tubeless tire pumps are made to work with valves that keep the air in and don’t let it out easily. Most riders prefer to use special tubeless pumps because they usually have high-pressure settings that make it easy to inflate tires without much effort. In addition, they come in different sizes and shapes, so you can find one that fits your needs best.
I hope you found this post on Floor Pump Makes Installing Tubeless Tires Simple useful.